


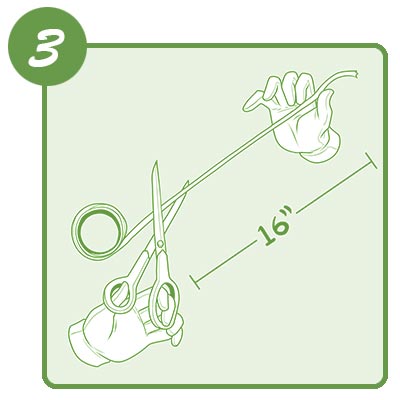
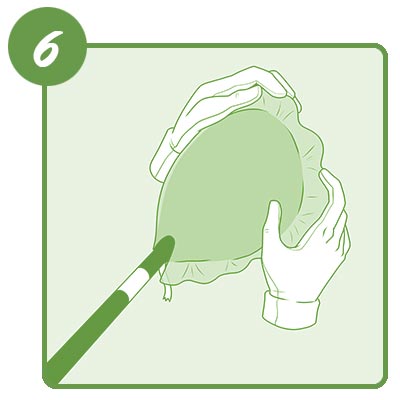

- Make sure that the filament on the knife-less tape is completely separated from the backing before starting to pull through the vinyl.
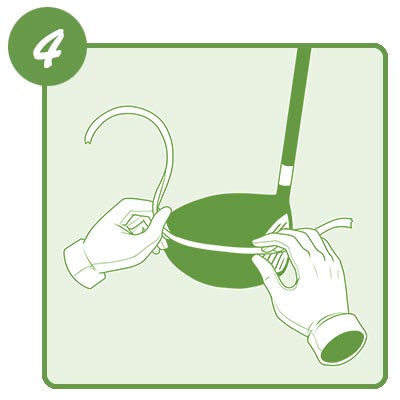
- Make sure the vinyl adheres to the tape all the way around the club head.
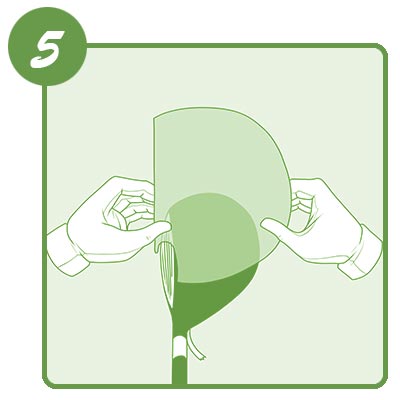
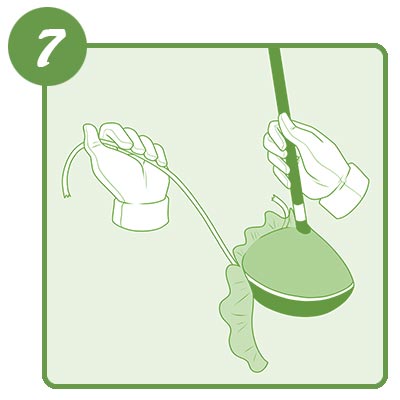
- Hold the vinyl down with your thumb at the edge of the vinyl to start a clean cut, then pull the string quickly.
-
Regular Price
-
$19.99
-
Sale Price
-
$19.99
-
Regular Price
-
$19.99
Sold Out
-
Unit Price
- per
Liquid error (snippets/product-form line 30): product form must be given a productLiquid error (snippets/product-form line 44): product form must be given a product
- Regular Price
- $19.99
- Sale Price
- $19.99
- Regular Price
- $19.99
Sold Out
- Unit Price
- per